
Highland OrderFlow
Initial Configuration
User Guide
⚙ Set up OrderFlow for the first time
When OrderFlow is first installed, the Getting Started wizard prepares a working configuration for your business.
The process takes approximately 5–10 minutes and consists of seven guided steps.
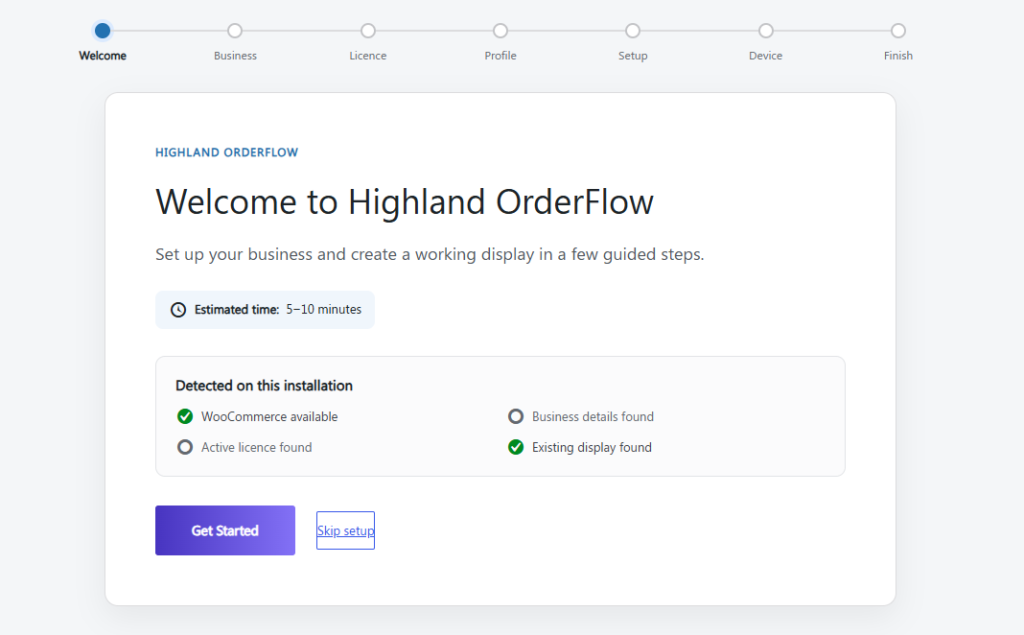
1. Welcome
OrderFlow first checks the current installation and identifies configuration that may already exist.
The Welcome screen can detect:
- WooCommerce availability
- Existing business details
- An active licence
- An existing display
Select Get Started to continue.
Already configured OrderFlow? The Skip setup option lets you leave the guided setup without running the complete onboarding process.
2. Business details
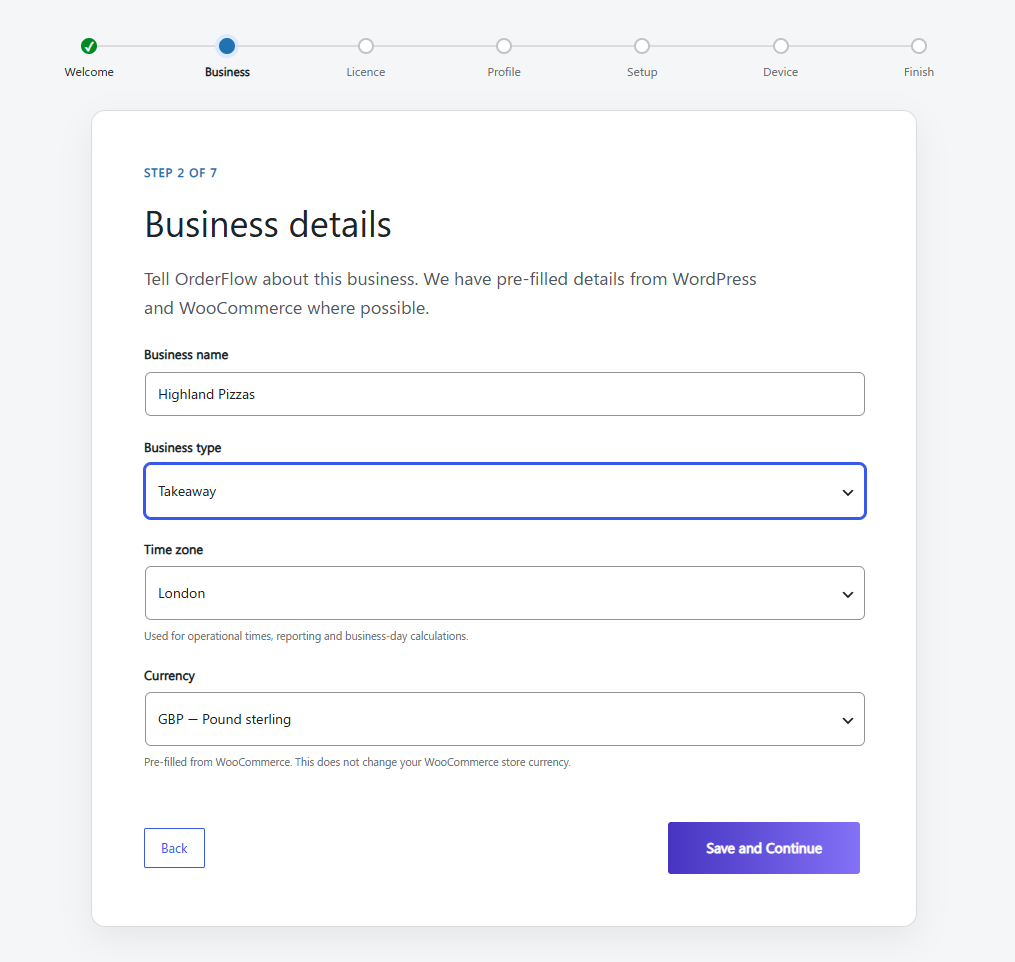
Enter or confirm the details OrderFlow will use for your operation.
OrderFlow pre-fills information from WordPress and WooCommerce where possible.
Configure:
Business name — The name of the business using OrderFlow.
Business type — Select the category that most closely describes the operation.
Time zone — Used for operational times, reporting and business-day calculations.
Currency — Pre-filled from WooCommerce where available. Changing this setting in OrderFlow does not change your WooCommerce store currency.
Select Save and Continue.
3. Licence
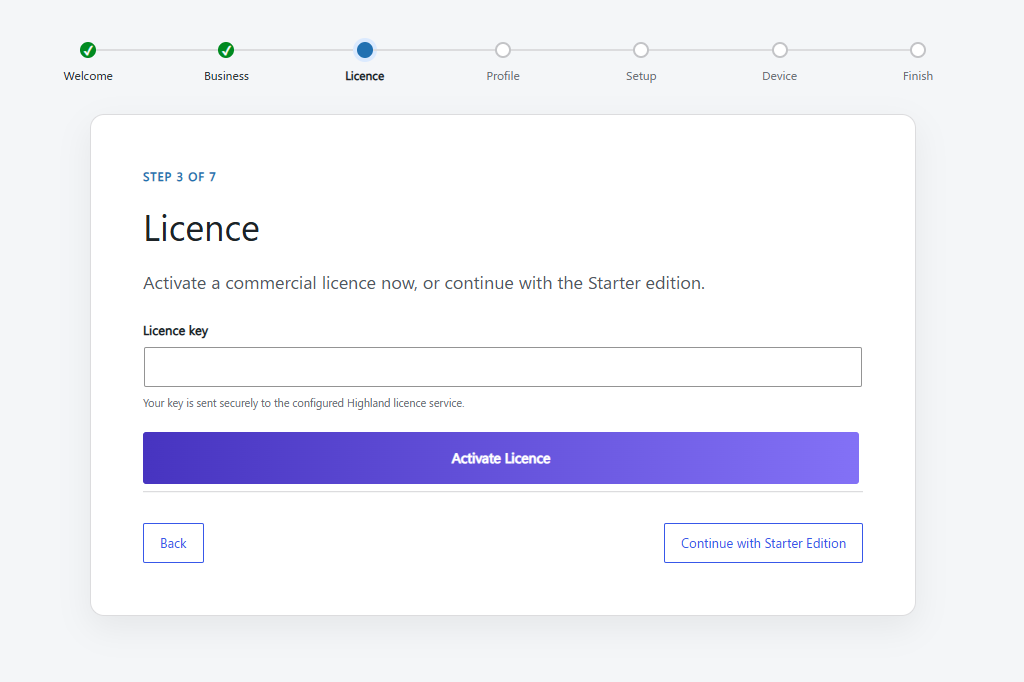
You can now activate your OrderFlow licence.
Enter the licence key supplied with your OrderFlow order and select Activate Licence.
The key is securely sent to the configured Highland licence service for validation.
Alternatively, select Continue with Starter Edition if you want to continue using the Starter edition.
4. Choose your business profile
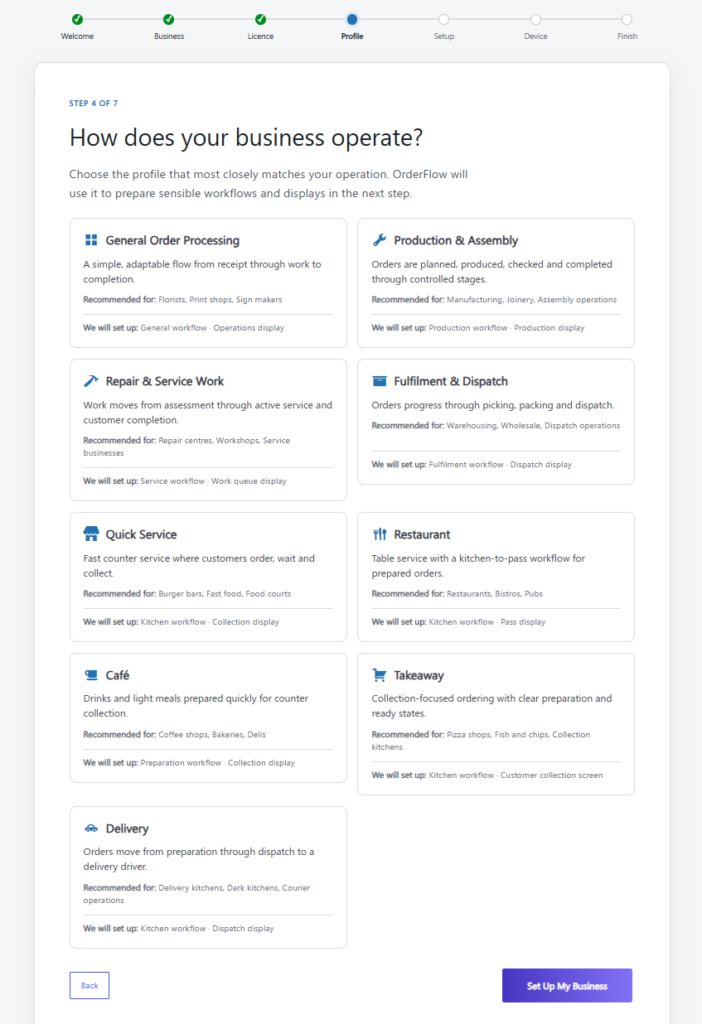
OrderFlow uses your business profile to create a sensible starting workflow and display automatically.
Choose the profile that most closely matches your operation:
| Profile | Suitable for |
|---|---|
| General Order Processing | Florists, print shops, sign makers and general order-based operations |
| Production & Assembly | Manufacturing, joinery and assembly operations |
| Repair & Service Work | Repair centres, workshops and service businesses |
| Fulfilment & Dispatch | Warehousing, wholesale and dispatch operations |
| Quick Service | Burger bars, fast food and food courts |
| Restaurant | Restaurants, bistros and pubs |
| Café | Coffee shops, bakeries and delis |
| Takeaway | Pizza shops, fish & chip shops and collection kitchens |
| Delivery | Delivery kitchens, dark kitchens and courier operations |
Each profile shows the workflow and display that OrderFlow will create.
Don’t worry if the suggested configuration isn’t exactly how your business operates. The workflow and display can be customised later.
Select your preferred profile and then Set Up My Business.
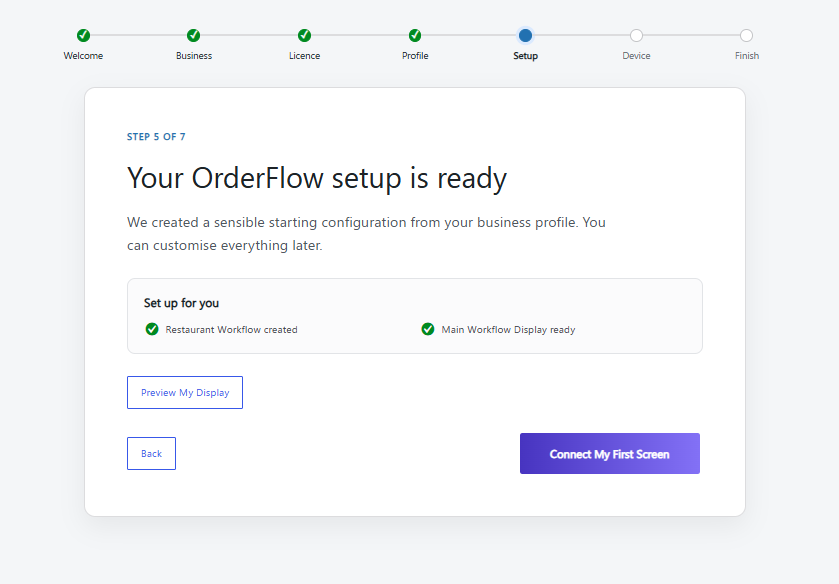
5. Review your setup
OrderFlow automatically creates the starting configuration associated with the business profile you selected.
The screen confirms the:
- Workflow created
- Main Workflow Display created
You can select Preview My Display to see the generated display.
When you’re ready, select Connect My First Screen.
6. Connect your first screen
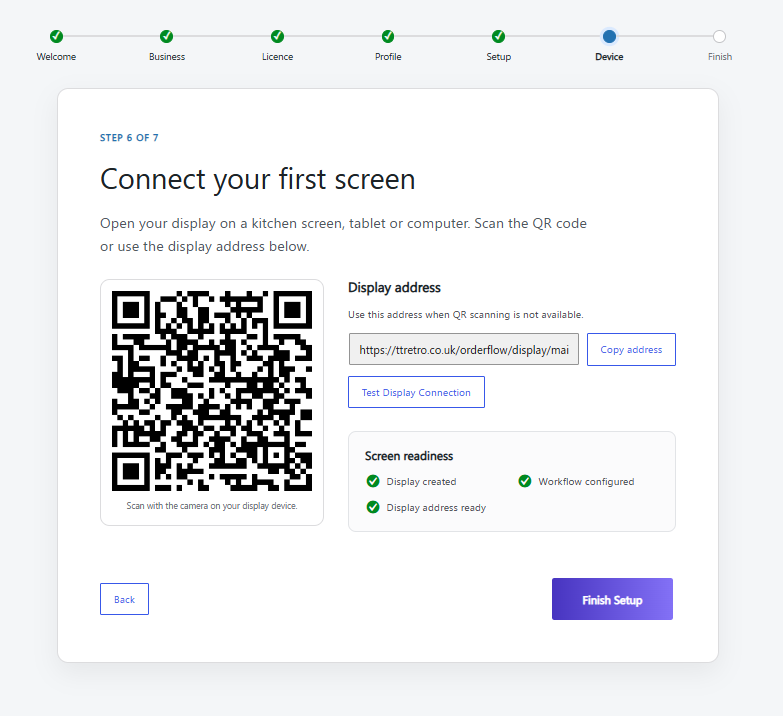
OrderFlow provides a QR code and direct display address for your new operational display.
On the computer, tablet or compatible screen that you want to use as the display, either:
Scan the QR code
or
Open the displayed address in a browser.
You can also use Test Display Connection to check the display.
Before continuing, OrderFlow checks that:
- The display has been created
- The workflow is configured
- The display address is ready
Select Finish Setup.
7. Finish
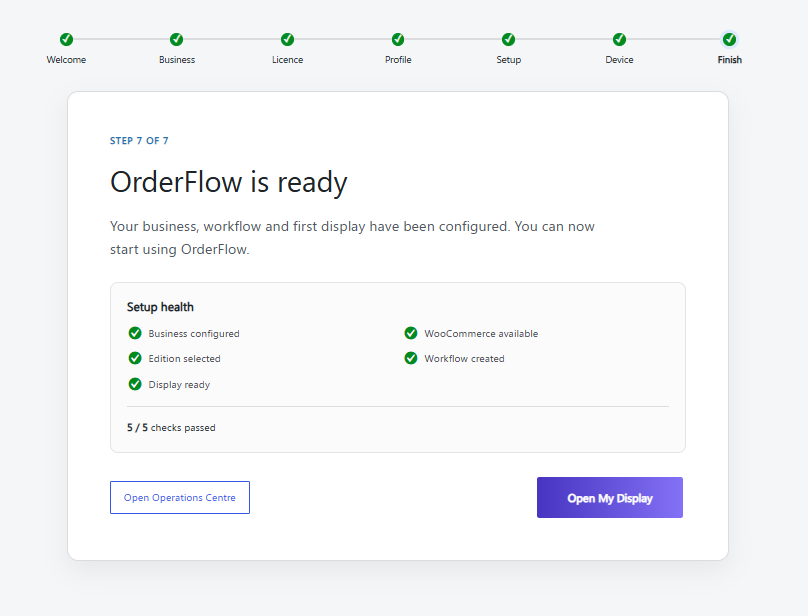
OrderFlow performs a final setup-health check.
A successful setup confirms:
✓ Business configured
✓ Edition selected
✓ Display ready
✓ WooCommerce available
✓ Workflow created
Select Open Operations Centre to begin managing OrderFlow, or Open My Display to launch the operational display.
Your OrderFlow installation is ready
At this point you have a working OrderFlow installation with:
WooCommerce → OrderFlow → Workflow → Operational Display
You can start using the generated configuration immediately or customise it for your operation.